
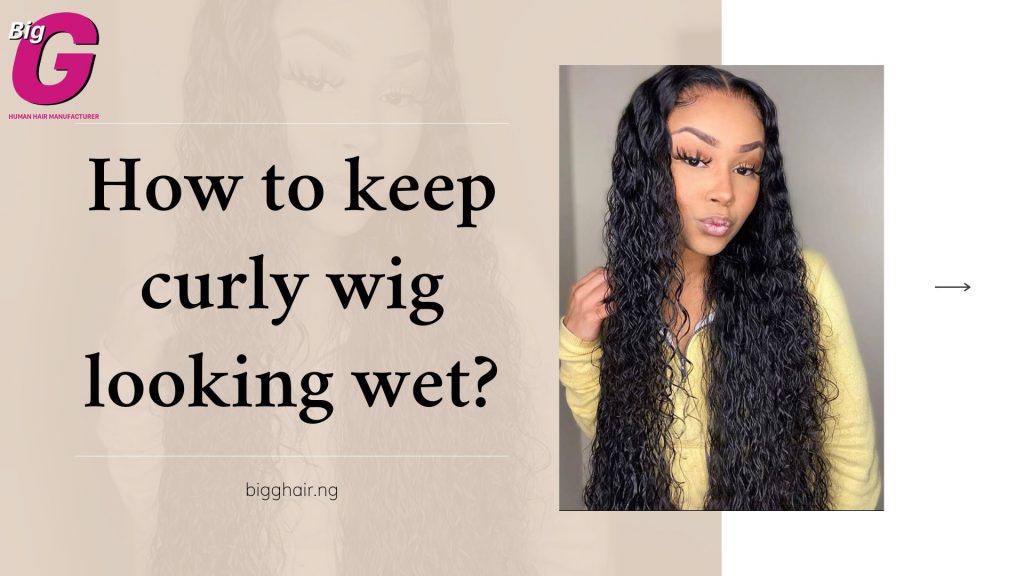
Curly wigs are undeniably the most popular wigs in the hair market. Any girl wants to try a bouffant and elegant look of curly hairstyles. Yet, curly wigs come are easier to get tangled and loosened. If that’s your worry while using a curly wig, let’s try a wet look to keep its shape and stunning texture. So, how to keep curly wig looking wet? Below we will guide you through the whole process for a wet-looking wig.
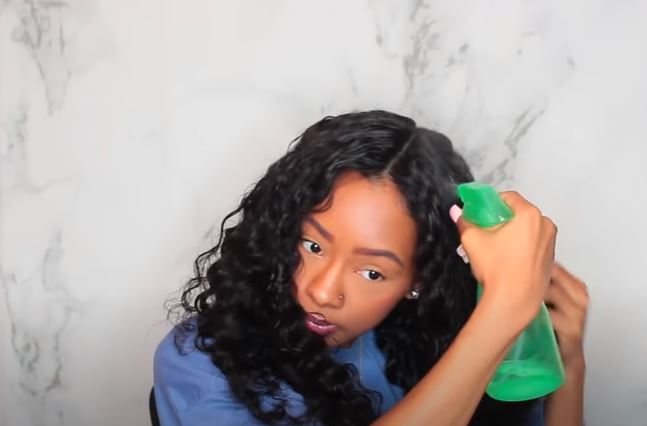
Wet your wig with water
Your curly wig needs to be moist but not soaking wet if you want to achieve the ideal wet-look hairstyle. This is due to the possibility that the hair gel you plan to use won’t adhere completely if your hair is very wet.
Additionally, you won’t be able to achieve a flawless wet-look hairdo if the gel does not stick to the wig’s strands. Therefore, if your wig is dripping wet, be sure to air dry it until it is damp. You can simply spritz a hair spray containing water on your hair if you don’t want to wash it.
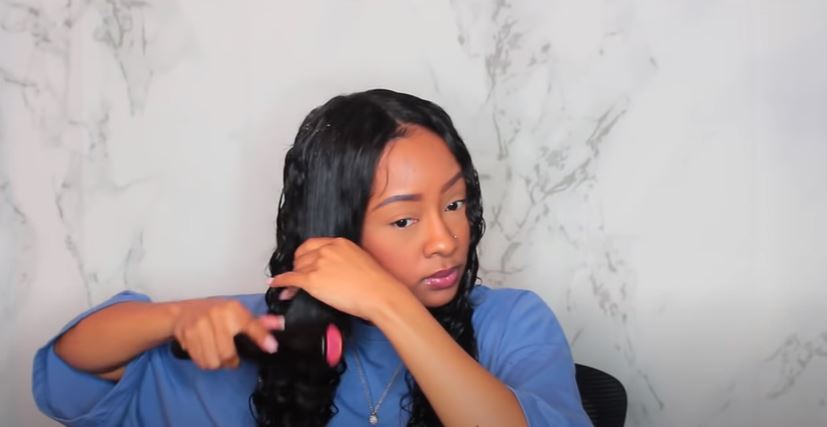
Detangle your wig
As was already noted, curly wigs are more likely to tangle. Thus, you must frequently detangle them. The best way to do that is to comb your wig with a wide-tooth comb, starting at the ends, then working your way up. This may help to avoid breaking.
You can use your fingers to detangle any knots in your curly wig if there are any. Your fingers are the ideal detangling tools for your curly wigs.
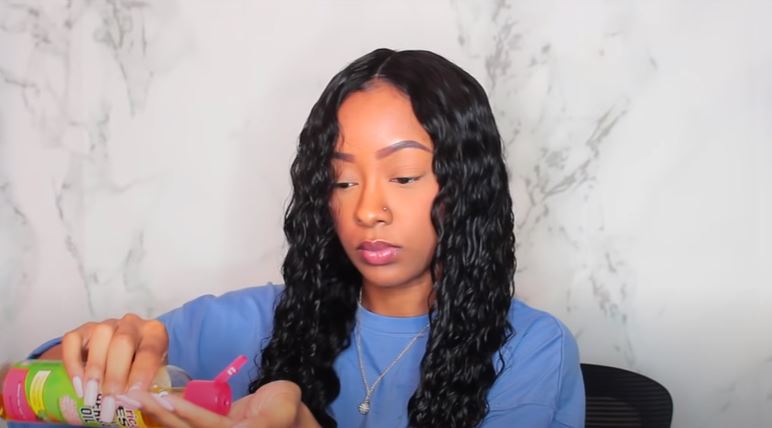
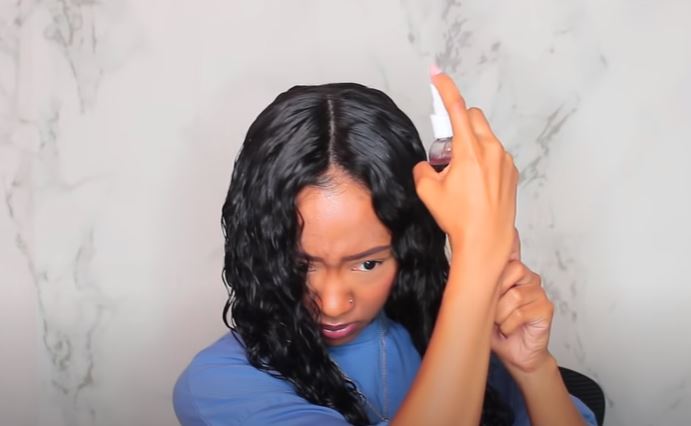
Choose a suitable gel
If you want to get the ideal wet-look hairdo, picking the appropriate gel is also essential. It can be challenging to choose from the wide variety of gels available on the market today. So, our tip is to opt for a non-sticky, hair-shine hair gel. It will assist in keeping the wig securely fastened.
The amount of gel you need to use depends on the length, density, and texture of your curly wig. Keep in mind, though, that too much gel can cause clumps in your wig. The wig needs to be coated, but not too sticky.
Apply gel
Once you’ve chosen a gel, it’s time to begin applying it to your curly wig. As we have mentioned above, you should avoid using too much gel on your curly wig. Start applying the gel at the roots and lengths. Concentrate more on the roots to achieve the ideal look. You can use your palm to check how it feels.
Comb your wig
The next step is to comb your curly wig when you are confident with how it feels after being applied with the gel. Depending on the style you want for your curly wig, there are many different combs and brushes you can use. To achieve a more relaxed look, for example, you can use a fine-tooth comb. The ideal choice is a boar bristle brush if you favor a polished, slick appearance. Make sure to comb your hair from root to tip.
Use glossing spray
To make your wig’s roots and ends blend, you can use some glossing spray. Although you should massage gel through the wig, adding wet-looking shine from a glossing spray will keep the wig from being too heavy and help you get the ideal wet-look hairstyle.
Style your wig
Finally, it’s time to style your curly wig to your preferences. You can leave the hair hanging, style it into an updo, or tie it in a ponytail.
It’s better to spritz some hair spray at the end of the process to keep your style intact and add some shine to your wig.
Curly wigs require higher maintenance than other types of wigs. Therefore, getting the right style like a wet look can be a useful way to give your curly wig the best look. While learning how to keep curly wig looking wet, we recommend you go through the whole haircare process for curly wigs via our post: How to maintain a curly wig?
Thanks for reading and keep following BigG Hair for more tips and styles!