
A quick weave is a popular method of installing weave hair extensions since it’s quick and convenient to use. Many people choose to have this style by visiting a hair salon. However, quick weaves can be done at home easily. So, below is the step-by-step tutorial on how to do a quick weave at home.
What do you need to prepare?
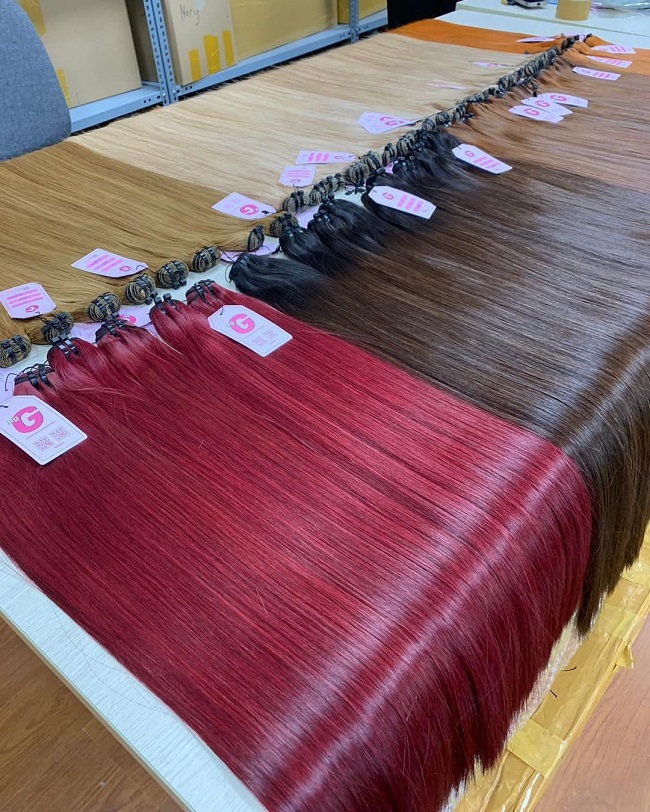
Hair extensions bundles
We advise using at least two bundles for lengths under 18 inches and three to four bundles for lengths above 18 inches to obtain the required fullness for a complete head of weave with the top or little natural hair left out.
You may want fewer bundles if you use lace frontal or closure at the front.
Besides, when it comes to hair extensions for quick weave installation, we have two options: human hair and synthetic hair. Yet, to get the most natural look with the style, we always recommend you use a human hair weave.
Other supplies
There are some supplies needed to make a quick weave, some of which you probably already have at home. The remaining are available in any beauty supply shop.
- Clarifying shampoo and deep conditioner
- Blow dryer
- Brush
- Protective cap (also known as wig cap, weave cap, quick weave cap)
- Scissors
- Hair glue
- Glue protector
- Hair ties
- Towel
- Rat-tailed comb
How to do a quick weave?
Step 1: Prep your hair
Before you braid or mold gel into the hair, make sure that your hair is completely clean. It’s better to use a clarifying shampoo with oils and nutrients to remove dirt and buildups in your hair. After that, deep condition your hair to add more moisture. This will ensure that your hair absorbs adequate moisture and proteins, ensuring that you won’t have to worry about your hair drying out while sporting this style. Then, blow dry your hair thoroughly.

Once that’s finished, either use gel to hold your hair in place or braid it into cornrows. You can leave a side or center part if you want.
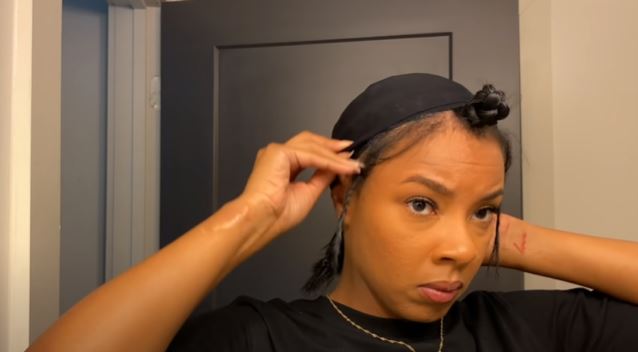
Step 2: Put on your wig cap
Once you’ve done prepping your hair, cover it with a wig cap to protect it from the glue. Using two wig caps will give you more security. If you apply a glue protector to your hair, you can also use a liquid cap. By doing this, you may be confident that any loose glue will stick to the cap rather than your hair. You can also apply a glue protector to your wig cap.
If the wig cap is too large for you, simply cut off the excess part. The wefts can adhere without any issues.
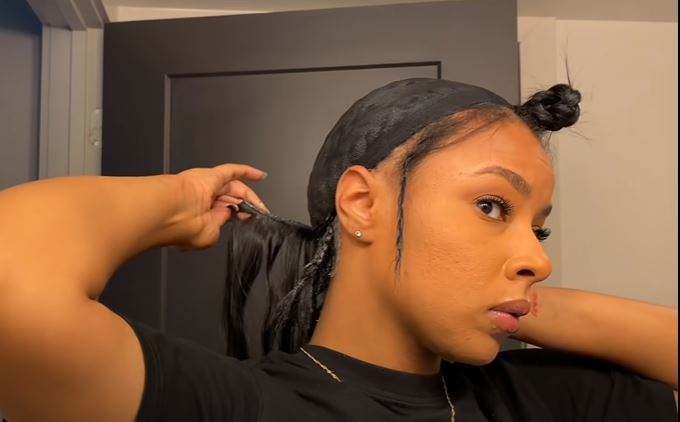
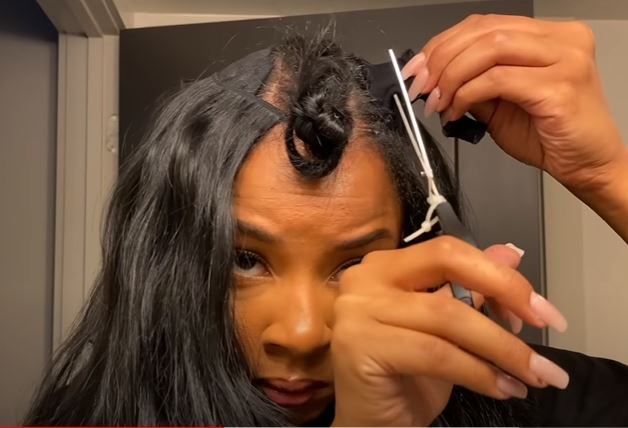
Step 3: Mark the leave out
Mark your leave out on the wig cap, so you don’t glue hair extensions too close to it.
Step 4: Glue the weft tracks
- Before you glue the hair, make sure to measure and cut the wefts. To determine where to cut the wefts, simply measure them around your head.
- You can prevent the glue from seeping through the protective cap and onto your hair and scalp by applying the proper amount of glue.
- Measure the wefts around your head and cut them into pieces.
- Apply the glue into the stitches of the wefts and glue the extensions to the protective cap. Use just enough glue to get them to adhere to the surface of the cap.
- You can glue the hair extensions by starting from the front or the back of your head. Yet, it will be better to start at the bottom and work your way up.
- Before adding a new track, make sure each piece has dried. You can blow dry the track to speed up the drying process. Yet, only use cool heating since the high temperature will melt the glue.
- Continue adding the weft tracks until you reach near the leave out. Cut that part of the wig cap to let it out.
Note: If you use a lace closure or frontal, you need to glue it down first before adding the weft tracks.
Step 5: Comb your hair and style
Once you’ve finished gluing the wefts, comb through the hair to remove any knots. After that, you can style your quick weave just like how you do with your natural hair.

You can also fix the protective cap if it doesn’t match your skin tone with a little foundation or concealer.
If your hair extensions are already styled, simply check your quick weave to make sure everything is in place and that the tracks are hidden. And now, enjoy your new look!
This is our guide on how to do a quick weave. The whole process can take about 1-2 hours, half of the time for creating a sew-in weave. So, what is your experience with quick weave installation? Don’t hesitate to share with us in the comment section below!