Frontal wigs are easy to wear and style. People love using frontal wigs since they are super convenient, enabling you to change your look within a blink. So, how to make frontal wig? Below is the step-by-step tutorial for frontal wig-making. process.
Preparation for frontal wig making
Things you need
- Wig shampoo and conditioner
- Curved needles and black thread
- Wig cap
- Wig combs
- Hair clips
- Mannequin head or styrofoam wig head
- Elastic band
- T pins
- Lace frontal with the size of your choice and hair bundles.
Bleach the knots on the lace frontal
If your lace frontal is not pre-bleached, you will need to bleach the knots in order to make it blend with your scalp color.
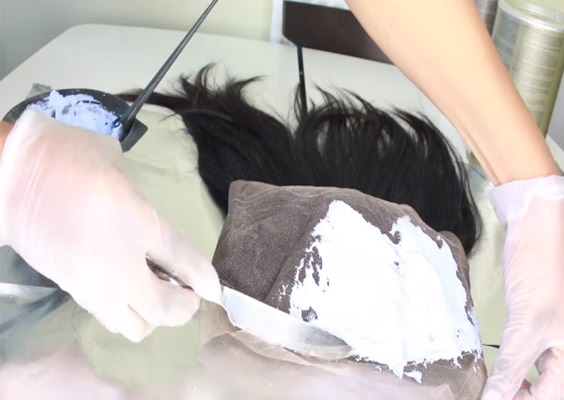
Mix the peroxide and water in a 1:1 ratio and spread the bleach on the lace with a knife like butter on a piece of toast. Do this on the front of the lace, then flip it over and repeat the process on the back.
Wait for about 30-40 minutes for the bleach to set once you’ve applied it. After that, you’ll need to shampoo out the bleach, color the lace frontal, and condition the wig. Make sure to rinse the lace frontal carefully to remove the residue bleach.
You can bleach knots on lace frontal at home, but we recommend you have it done by a professional. If it’s your first time bleaching knots on lace frontal, you may find it’s a bit hard to carry out. Otherwise, you can purchase a pre-bleached lace frontal.
How to make frontal wig?
Step 1: Place your wig cap and lace frontal
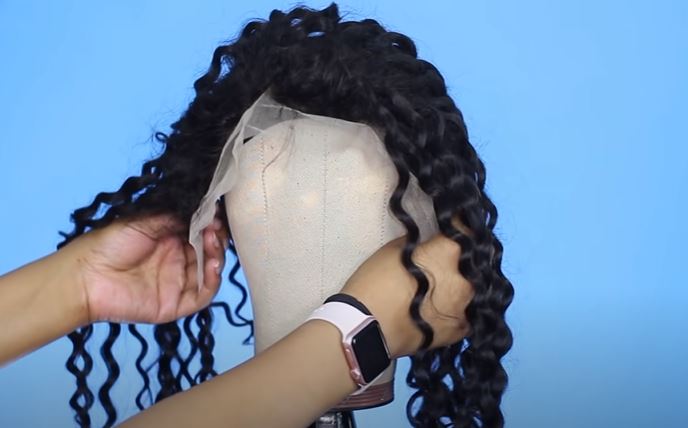
Place the wig cap on the mannequin’s head, followed by the lace frontal. Drag the lace frontal forward and down to where your ears will be. You can try to wear the wig cap and lace frontal into your head first. Use a white pencil to mark the position where you want to attach the lace frontal.
Remember to use some pins to hold the lace frontal in place in the mannequin head.
Step 2: Sew the frontal into the wig cap
Take a curved needle and some thread to sew your lace frontal down your wig cap. Start sewing at the top and work your way down to the side. Repeat until you reach the opposite end of the frontal. When you reach the end, tie a tight knot and cut the weave thread with scissors.
Step 3: Sew in the weave bundles
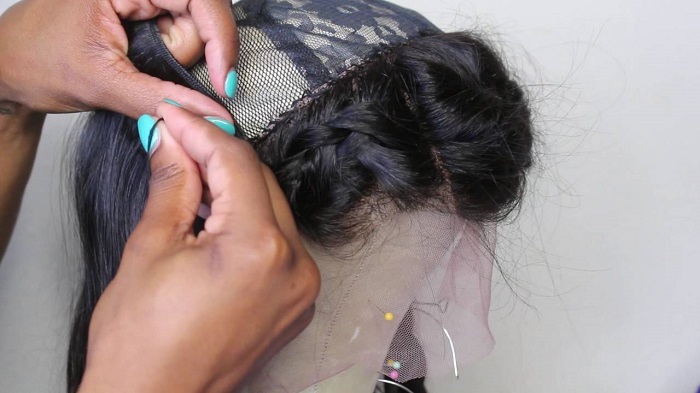
We’ll start stitching in the weft tracks at this stage.
- Begin putting the hair weave to the wig cap at the back of the mannequin’s head. Stitch from one side to the other, around the mannequin’s head in a semi-circle form.
- Fold over the hair weft and sew it down neatly and securely on the opposite side so that it lays as flat as possible each time. Then, continue sewing on the opposite side of the head.
- Repeat these processes until you reach the top of the head, where the lace frontal and wig cap meet at the seam and sew the tracks together as closely as possible to minimize any gaps.
Please note that there should be no more than a few millimeters between the weft tracks.
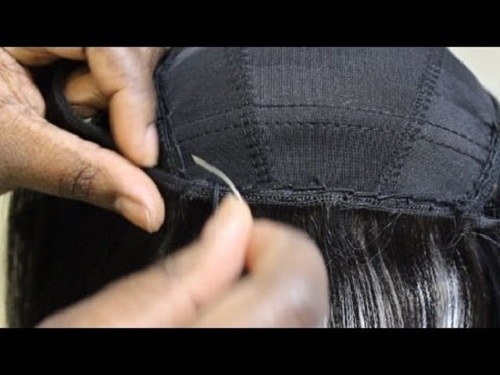
Step 4: Cut the excess wig cap
Cut off the excess wig cap. You will want the frontal to blend in with your hairline ultimately.
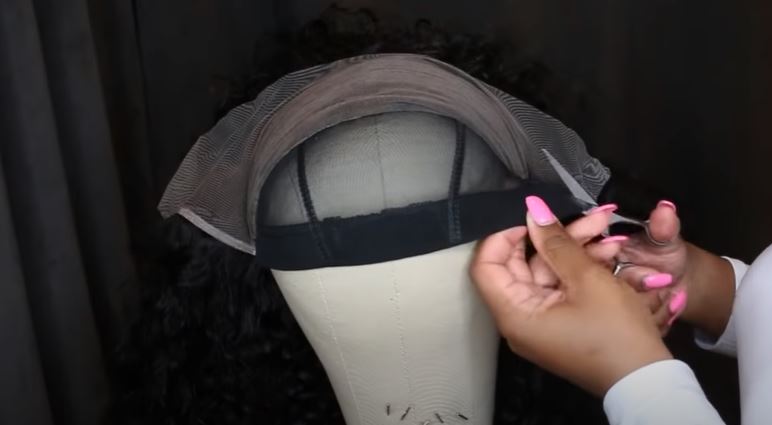
Step 5: Sew some wigs combs or elastic band
You can sew some wig combs or an elastic band inside your wig so that it will secure the wig more while you wear it. If you choose to use wig combs, let’s sew about 3 combs, two at each side of the frontal wig and one at the back of the wig.
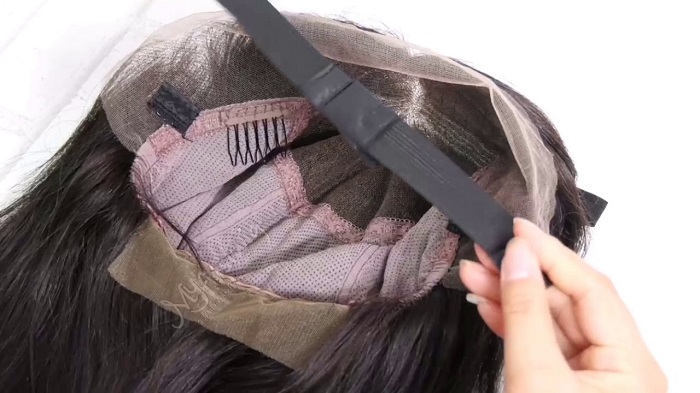
So now you’ve finished your first frontal wig. Let’s try to wear it on your head to see how it looks and if it fits you. Then, do some adjustments if needed.
Above is the 5-step guide on how to make frontal wig. We hope that you can make a nice frontal wig using our tutorial. Don’t be disappointed if your first wig doesn’t come out with the best look. Practice makes better! And don’t forget that BigG Hair also supplies lace frontal wigs that are ready to use. Just visit our website site or offline store to select your favorite item!

